
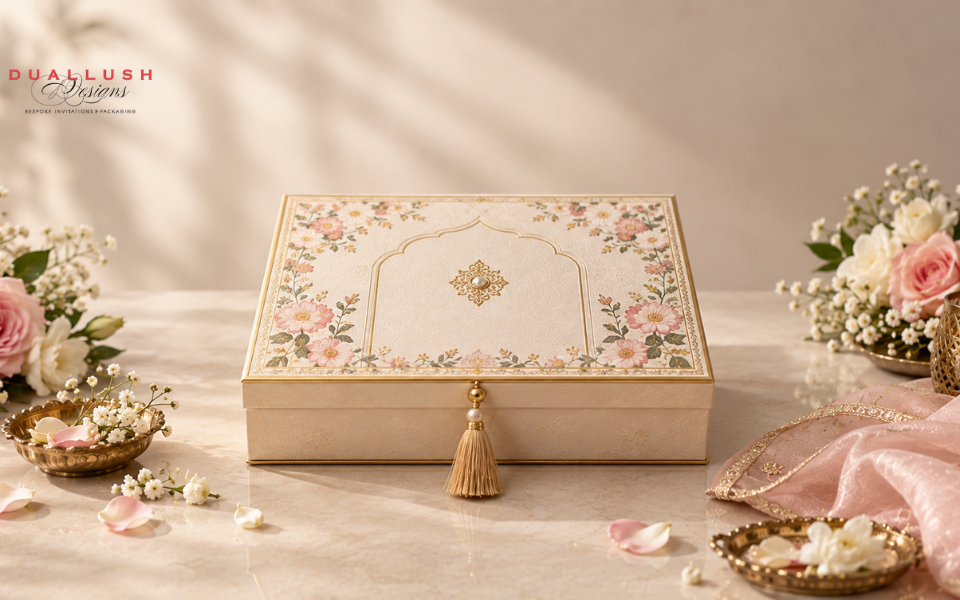
Deciding you want a boxed invitation suite is the easy part. Actually getting from that decision to a finished box in your hands one that matches your vision, arrives on time, and doesn’t require a stressful last-minute reorder is where most couples have questions. This guide walks through the real process, start to finish, so you know exactly what to expect at each stage.
Step 1: Define Your Vision Before You Shop
Before browsing a single product page, get clear on three things: your wedding’s formality, your colour palette, and your guest count. These three answers narrow down material and structure choices immediately. A formal black-tie wedding with a 100-guest list points toward a rigid velvet invitation box; a modern, minimalist wedding might point toward an acrylic invitation nested in a simpler box. Walking into the design process with these fundamentals settled saves real time in the proofing rounds ahead.
Step 2: Choose Your Material and Structure
This is where you decide what the box is actually made of and how it’s built. Consider:
- Material: velvet for plush, romantic richness; linen for a refined middle ground; acrylic for a modern, architectural interior card
- Structure: a rigid, lidded box for maximum durability and drama, or a lighter, collapsible structure if shipping cost and weight matter more
- Interior layout: how many inserts are needed for a home inside (main invitation, RSVP card, details card, ribbon or tassel accent)
If you’re genuinely unsure between two materials, this is the right moment to request samples rather than deciding from photos alone, which colour and texture read very differently in person.
Step 3: Request a Quote Based on Your Actual Quantity
Pricing for custom boxes is quantity-sensitive, so a quote based on your real guest count matters more than a generic per-unit price you saw online. Provide your stationer with your guest count, material preference, and any finishing details (foil monogram, wax seal, brooch accent) you already know you want, so the quote reflects your actual suite rather than a base configuration you’ll end up upgrading later anyway.
Step 4: Submit Your Design Details
Once you’ve chosen a starting design or template, you’ll typically complete a questionnaire covering:
- Names, date, and venue wording exactly as you want them printed
- Colour palette (hex codes or a swatch reference help enormously here)
- Font preferences, if you have a specific one in mind
- Any monogram, crest, or custom motif you want incorporated
- Full wording for each insert (invitation, RSVP, details card)
Being precise and complete at this stage is the single biggest thing you can do to reduce the number of revision rounds that follow.
Step 5: Review Your First Digital Proof
Most stationers deliver a first digital proof within a few business days of receiving your design details. This is your first real look at how everything comes together layout, colour, spacing, and wording all in one place. Read it slowly and specifically for:
- Correct spelling of names, especially less common ones
- Accurate date, time, and venue address
- Colour accuracy against your actual palette (screen colours can shift slightly from print)
- Consistent wording across every piece in the suite, not just the main card
Step 6: Go Through Revision Rounds
Most custom orders include two to three rounds of complimentary revisions. Use them deliberately rather than making one small change per round batch of your feedback into a single clear list each time, since faster, more complete revision rounds are the biggest lever you have over your overall timeline. Common revision requests at this stage include colour adjustments, spacing fixes, and swapping a font or motif that didn’t look the way you expected on the printed proof versus the screen.
Step 7: Order a Physical Sample (Strongly Recommended)
Before approving a full production run, ordering a physical sample of your material and finish lets you feel the actual weight, texture, and colour in hand, something no digital proof can fully replicate, especially for materials like velvet, where depth of colour matters enormously. This step is optional in some workflows but genuinely worth the small additional cost and time, since it’s the last checkpoint before your full quantity is produced.
Step 8: Approve the Final Proof
Once you’re satisfied with the design and, ideally, have confirmed it against a physical sample, you’ll sign off on a final proof. This is the point of no return after final approval, changes become difficult or impossible since materials get cut and printing begins. Read this proof as carefully as the first one, even if it feels repetitive; this is genuinely the last chance to catch anything before production starts.
Step 9: Production
Fully custom boxed suites typically take 6–8 weeks to produce, factoring in material sourcing, printing or foil work, and hand assembly of the box and inserts. Speciality finishes foil stamping, embossing, lasercut acrylic can extend that window further, so build in buffer time if your design includes any of these elements, and always ask your stationer for a specific timeline rather than assuming a generic estimate applies to your exact order.
Step 10: Assembly and Final Delivery
Depending on your stationer, invitations may arrive fully assembled or as separate components for you to put together yourself. If time is tight, most studios offer an assembly add-on: cards, ribbons, and inserts hand-placed into the box for you, which is worth the additional cost if you’re already managing a packed pre-wedding schedule. Once assembled, your boxes are packaged for shipping with protective materials appropriate to the box’s weight and fragility, particularly important for velvet, which can compress under pressure if it isn’t padded correctly.
Step 11: Mail With Enough Lead Time
Plan to have your boxes in guests’ hands 8–12 weeks before the wedding, mailing earlier for destination weddings or holiday-adjacent dates. Boxed suites are heavier than flat invitations, so confirm postage requirements before you buy stamps for the full batch. Underestimating postage on even a handful of boxes creates an unnecessary last-minute scramble.
A Realistic Timeline Overview
| Stage | Typical Duration |
|---|---|
| Vision, material choice, and quote | 1–2 weeks |
| Design submission and first proof | 3–5 business days |
| Revision rounds | 1–3 weeks (depending on rounds needed) |
| Sample ordering (optional but recommended) | 1–2 weeks |
| Production after final approval | 6–8 weeks |
| Assembly and shipping | 1–2 weeks |
Working backwards from your mailing date, most couples should start the process 3–4 months before invitations need to be in guests’ hands, especially if the suite includes speciality materials or finishes.
The Bottom Line
A showstopping boxed suite isn’t the result of luck; it’s the result of a deliberate process: clear decisions early, careful proofing, a physical sample before committing, and enough lead time to avoid rushing production. Follow these steps in order, and the “ultimate guide” version of your invitation box is entirely achievable without last-minute stress.
Ready to start your own boxed invitation suite?
Get a free design consultation with our team, and we’ll walk you through every step from material selection to final delivery.