
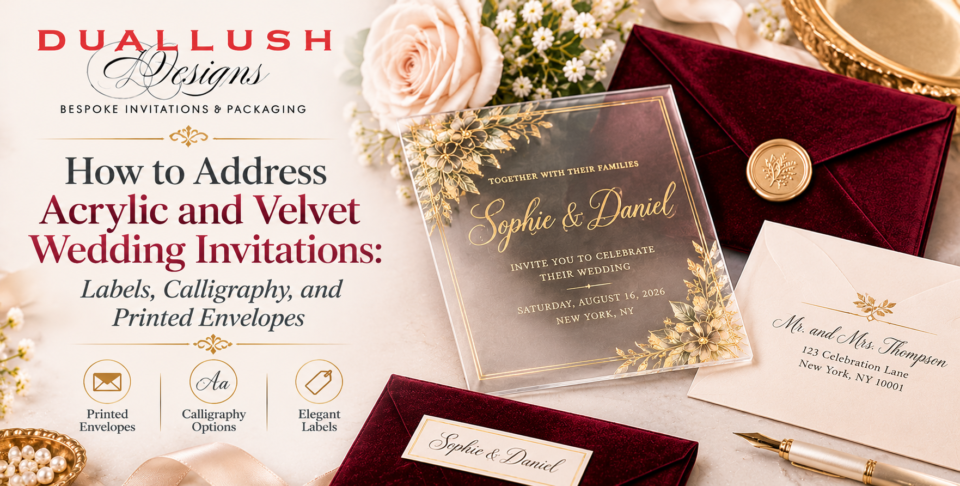
Addressing a paper invitation is straightforward: you write on the envelope. Addressing an acrylic or velvet invitation raises a different question. You can’t write on velvet, ink beads up on acrylic, and a heavy boxed suite doesn’t travel the way a flat card does. So where does the address actually go, and how should it look?
The answer is that your guests’ names and addresses live on the packaging, not on the invitation itself. What matters is choosing the right addressing method for that packaging, so the finished piece looks as polished as the suite inside it.
First, Where the Address Goes
It helps to separate your suite into layers:
- The invitation itself. An acrylic card or velvet box is a presentation piece. It carries your wedding details, not the mailing address.
- The protective layer. Many of our acrylic invitations arrive with a mailing envelope, and boxed suites typically travel inside a mailer or outer box.
- The address. This goes on that outer layer, and that’s the surface you’ll hand-letter, print on, or label.
Keep this principle in mind: never address directly on velvet or acrylic. Velvet’s pile doesn’t take ink or labels cleanly, and acrylic is smooth and non-porous, so writing smudges and adhesive labels can leave marks. Treat the outer envelope or mailer as your canvas.
Your Three Addressing Options
1. Hand Calligraphy
Hand-lettered envelopes are the traditional choice for formal weddings and still the benchmark for elegance. A professional calligrapher typically charges a few dollars per envelope, and the cost varies with style and quantity. Hand lettering suits a luxury suite well, because it echoes the care that went into the materials.
Practical tips:
- Book early. Calligraphers fill up quickly in peak wedding season.
- Provide a clean spreadsheet of names and addresses, to prevent transcription errors.
- Confirm the envelope stock with your calligrapher before ordering, since coated, dark, or textured surfaces behave differently.
- Ask for a test envelope on the exact mailer you’ll use.
2. Printed Addresses
Printing guest addresses directly onto the envelope, often in a calligraphy-style font, gives a polished result at a fraction of the cost and time of hand lettering. Printed addressing is especially practical for larger guest lists, and when it’s done in the same typeface and ink color as your suite, it reads as part of the design rather than an afterthought.
Practical tips:
- Order your envelopes and addressing together so stock, ink, and font match across the suite
- Choose a typeface that’s legible first and decorative second
- Proofread the full list before printing, since every error means a reprint
3. Address Labels
Printed labels are the fastest and least expensive option, typically costing well under a dollar each. They suit modern and casual weddings, and they work best when the label is designed to match the suite, in the same typeface and color palette.
Where labels struggle: On a luxury velvet or acrylic suite, a generic adhesive label can look mismatched against premium materials, and on a dark or colored envelope, a white rectangle stands out as a separate element. If you use labels, choose a clean, designed label and apply it to a smooth envelope or mailer, never to velvet or acrylic.
Addressing Dark and Colored Envelopes
Luxury suites often travel in colored or dark mailers, which look striking but add a practical challenge. Calligraphy and printing in white or metallic ink are common solutions, but low-contrast combinations can be hard for people, and for postal sorting equipment, to read.
A few safeguards:
- Prioritize contrast. The address should stand out clearly from the envelope color.
- Keep the delivery address simple. A decorative flourish is lovely, but legibility matters more on the front of the envelope.
- Include the full ZIP code and any apartment number. Incomplete addresses are one of the most common reasons mail is delayed or returned.
- Test one. Mail a sample to yourself or a friend before addressing the entire batch.
Boxed Suites: Addressing the Mailer
If your invitation arrives in a velvet invitation box or a layered suite, the box itself stays unaddressed. It travels inside a mailer, an outer envelope, or a shipping box, and that outer layer carries the address.
Because boxed suites are heavier and bulkier, a sturdy mailing box or padded mailer protects the velvet and any inserts. For addressing, the same three options apply:
- Printed addressing on the mailer keeps the look consistent and holds up well to handling
- Hand-lettering on a smooth mailer adds a personal touch, though textured or glossy surfaces can be tricky
- A designed label is the practical choice for a shipping box, where hand lettering isn’t an option
If your suite includes an invitation pocket or sleeve, the guest name can appear on an inner envelope or a small card tucked inside, while the mailing address stays on the outer layer.
Etiquette Basics That Still Apply
The traditional rules carry over to luxury materials:
- Use full formal names on the outer envelope, with titles, and save first names or nicknames for any inner envelope
- Spell out “and,” rather than using an ampersand, for a formal look
- Place the delivery address centered on the front, and the return address on the back flap, which keeps the front clean and elegant
- Choose one method and use it for every envelope. Consistency across the suite matters more than which option you choose
A few conventions are worth knowing: spelling out street names and state names looks more formal, though the postal service reads two-letter state abbreviations reliably, so either works as long as the address is complete and clear.
Postage and Rigid Pieces
Heavy, rigid, and boxed suites cost more to mail, and unusual shapes can be priced differently from standard letters. The most dependable approach is to take one fully assembled, addressed sample to your local post office and ask them to weigh it and confirm the postage for your entire list. It’s a five-minute errand that can save a surprise at the counter.
A Simple Timeline
- Finalize your guest list and addresses as early as possible, in a single spreadsheet
- Choose your addressing method when you order your suite, so envelopes and addressing are ordered together
- Book a calligrapher early, if you’re using one
- Proof every address before printing or lettering begins
- Weigh a finished sample and confirm postage
- Assemble and mail within your invitation window
A Quick Checklist
- Address placed on the outer envelope or mailer, never on velvet or acrylic
- One addressing method used consistently
- Strong contrast on dark or colored envelopes
- Full ZIP codes and apartment numbers verified
- Return address on the back flap
- A weighed, priced sample confirmed at the post office
- A sample of your suite ordered to confirm how the envelope looks with the pieces inside
The Bottom Line
Addressing a luxury invitation is less about the invitation and more about its packaging. Keep the address on the outer layer, choose a method that matches your formality and guest count, prioritize contrast and legibility, and use the same approach on every envelope. Do that, and the first thing your guests see will look as considered as the suite inside it.
Want help planning the full suite, from acrylic or velvet invitations to envelopes and mailers?
Get a free design consultation with our team, and we’ll help you choose the pieces and packaging that make mailing simple.