
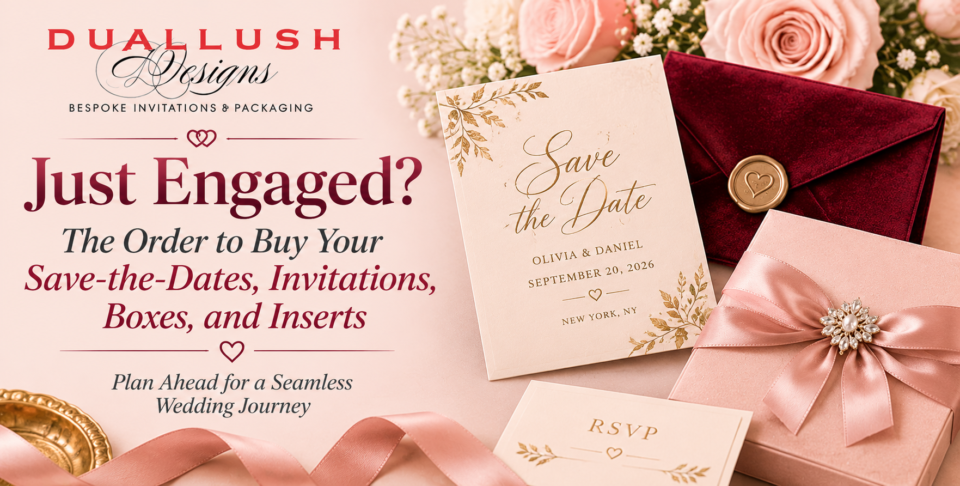
The ring is on, the group chat is buzzing, and suddenly everyone wants to know when the invitations are going out. Before you fall in love with a design, it helps to know the right order to buy your wedding stationery. Ordering pieces in the wrong sequence leads to mismatched suites, rushed printing, and postage surprises.
Here is a simple, stress-free order for buying your save-the-dates, invitations, inserts, and invitation boxes, plus when to make each decision.
Start With Your Timeline, Not Your Design Board
Your wedding date drives every stationery deadline. Count backward from it, and remember that custom printing, proofing, and shipping all take time. A good rule: the more customized the piece, the earlier you should start.
Two things must be settled before you order anything: your wedding date and venue, and a rough guest count. Everything else can be refined along the way.
Step 1: Order Your Save-the-Dates First
Save-the-dates are the first piece your guests receive, so they come first in your buying order. Most couples send them about 8 to 12 months before the wedding, and closer to 12 months for destination weddings or holiday weekends.
To meet that window, begin shopping roughly 10 to 14 months out. You only need a finalized date, a location, and a mailing list. Hold off on formal wording, since details like your full schedule can wait for the invitation.
A smart move is to browse save the date cards with your invitation style in mind. They don’t need to match perfectly, but a shared color palette, motif, or typeface makes the whole experience feel cohesive from the first mailing.
Step 2: Choose and Order Your Wedding Invitations
Invitations are the centerpiece of your stationery, so give them the most time. Traditional etiquette suggests mailing them about 6 to 8 weeks before the wedding, or about 3 months ahead for destination celebrations.
Ordering is a different clock. Plan to start choosing your wedding invitations about 5 to 6 months before the wedding. That leaves space for design proofs, wording changes, sample reviews, production, and delivery, with a buffer for the unexpected.
Before you place the order, confirm:
- Exact names, spellings, and titles
- Ceremony and reception times and addresses
- Your RSVP method and deadline, typically 3 to 4 weeks before the wedding
- Your final guest count, including households that will share one invitation
Order 10 to 15 percent extra to cover keepsakes, vendor copies, photography flat lays, and addressing mistakes. Reprinting a small batch later is almost always more costly and slower.
Step 3: Add Inserts and Enclosures With the Invitation
Inserts are the supporting cast: details cards, RSVP cards, accommodation notes, directions, and reception information. Order them at the same time as your invitations so the paper, ink, and finish match.
Collect the information you’ll need first:
- Details card: Dress code, shuttle information, a wedding website address, and registry notes
- RSVP card: Reply-by date, meal choices if needed, and return instructions
- Accommodations card: Hotel names, room block details, and booking deadlines
Keep inserts concise. A guest should be able to find the date, location, and next step in seconds. If you need a tidy way to hold several pieces together, invitation pockets can organize your inserts and keep the suite neat when guests open it.
Step 4: Decide on Invitation Boxes Before You Finalize Sizes
Packaging is the step couples most often leave until last, and that creates problems. A box has fixed interior dimensions, so your invitation, inserts, and any extras must fit it comfortably. Decide on packaging before approving your final invitation size.
If you want a luxury unboxing moment, explore wedding invitation boxes while you are still
choosing your invitation. Consider the following:
- Will your invitation lie flat or stand upright inside?
- How many inserts need to fit, and will they be layered?
- Do you want room for a small extra, like a ribbon, wax seal, or personal note?
- How will boxes be shipped to guests, and what will that do to your budget?
Boxes are best ordered together with invitations and inserts, so everything arrives in time for assembly.
Step 5: Assemble, Weigh, and Check Postage Before Mailing
Once everything arrives, assemble one complete sample suite and take it to the post office to be weighed. Thick, rigid, square, or oddly shaped pieces can change postage costs, and boxed invitations will usually need different shipping than a flat card. Check rates with your local post office or the USPS website before buying stamps or shipping materials.
Plan assembly time too. Stuffing, sealing, addressing, and labeling a full guest list takes longer than most couples expect, so set aside a few evenings.
A Sample Buying Timeline
If your wedding is 12 months away, this schedule keeps things calm:
- 10 to 12 months out: Finalize date and venue, build your mailing list, and order save-the-dates
- 8 to 10 months out: Mail save-the-dates and start exploring invitation styles
- 5 to 6 months out: Choose invitations, inserts, and packaging, then finalize wording
- 3 to 4 months out: Receive your order and assemble a sample for postage
- 2 to 3 months out: Address and mail invitations on schedule
Shorter engagement? Compress the schedule, and make decisions on packaging and inserts earlier so production isn’t delayed.
Common Ordering Mistakes to Avoid
- Ordering invitations before settling the guest count
- Choosing a box after the invitation size is already approved
- Forgetting extras for keepsakes and mistakes
- Skipping a postage check on the finished suite
- Waiting on wording until the last week
Plan Your Stationery With Confidence
The best order is simple: save-the-dates first, then invitations, inserts, and boxes together, followed by assembly and postage. Following this sequence protects your timeline and your budget, and it gives your guests a consistent, memorable experience from the first card to the final RSVP.
Ready to start? Explore the Duallush collections to find luxury invitations and packaging that suit your wedding, and bring your stationery vision to life.